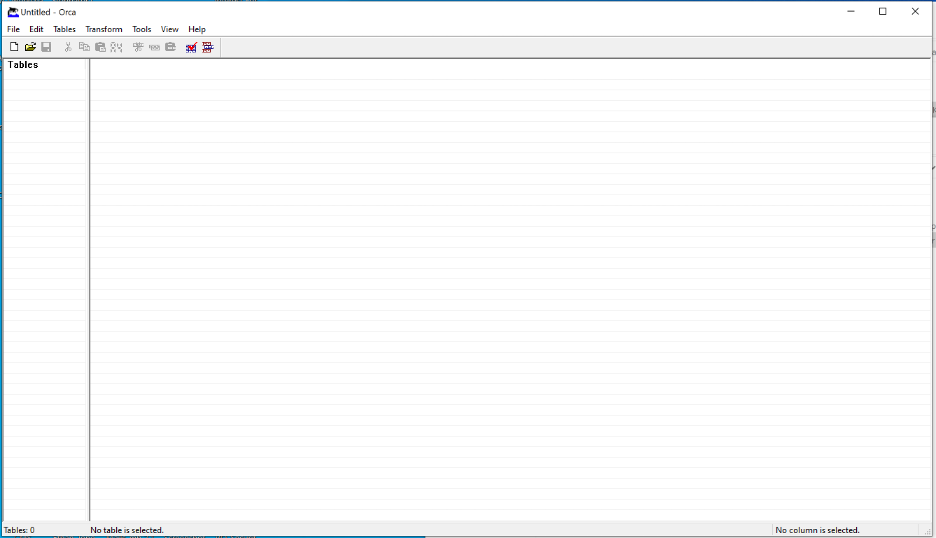
Using Orca
Download Microsoft Orca from vqcomms.com. Sign into the portal and either search for “orca” using the search panel or open the Downloads “VQ Conference Manager Plugins” panel for the version of VQ you are using. The Orca download is listed alongside the MSI installers.
Load Orca:
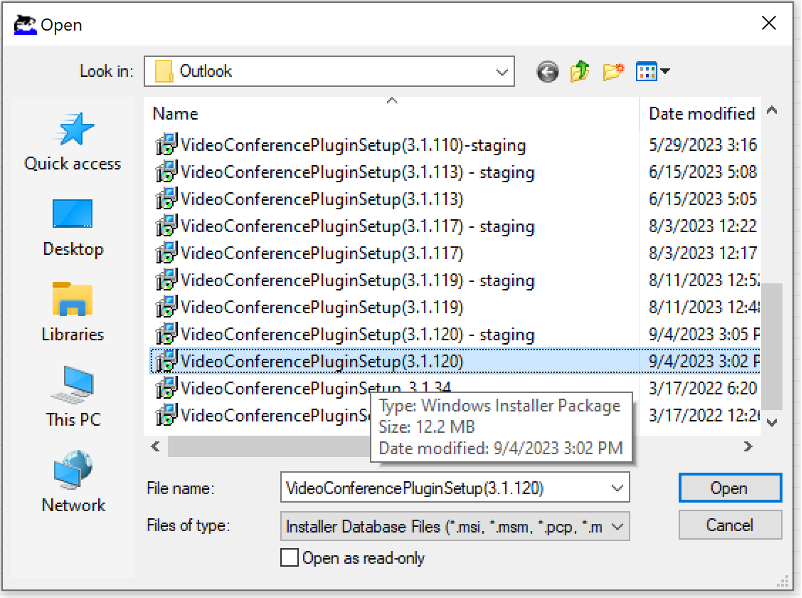
File->Open->Installer file name:
Scroll down through the Tables panel to Properties:
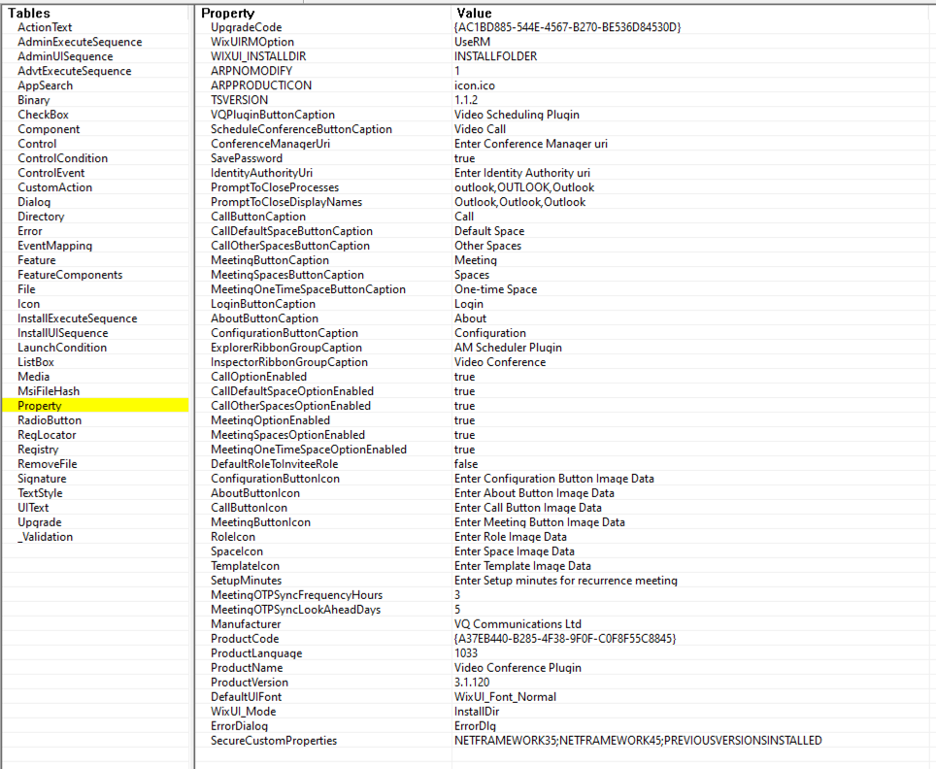
Change the property values as required and the save the file (File -> Save). The updated “msi” file can then be installed as normal.
Note: Please note that File->Save As does not work and is a known error for Orca (see “Orca ‘Save-As’ option doesn’t work” for an alternative process to rename your msi).
Orca Save-As option doesn’t work
If you use the “save as” option on the edited msi, the new file will not work.
The process to rename a msi is therefore:
1. Copy the original msi to the desired file name
2. Open Orca and open the new file name
3. File->Save (do not use File->’Save As; it doesn’t work)
4. Exit Orca