Configuring Jabber to add Jabber Extension
Jabber Extension Pre-requisites
- Jabber 12.7
- VQ Conference Manager 3.9.x
VQ Conference Manager Admin Settings
- Log in to your VQ Conference Manager Admin
-
Browse to Manage -> Authentication Clients

-
Click Jabber Add-in. You should see a Success notification saying that the client was enabled successfully
VQ Conference Manager Settings
- To enable Call Space functionality, you must provide a SIP domain to call
Log in to your VQ Conference Manager.
-
Navigate to your Tenant, whether through System -> Default Tenant or Tenants -> Your tenant name
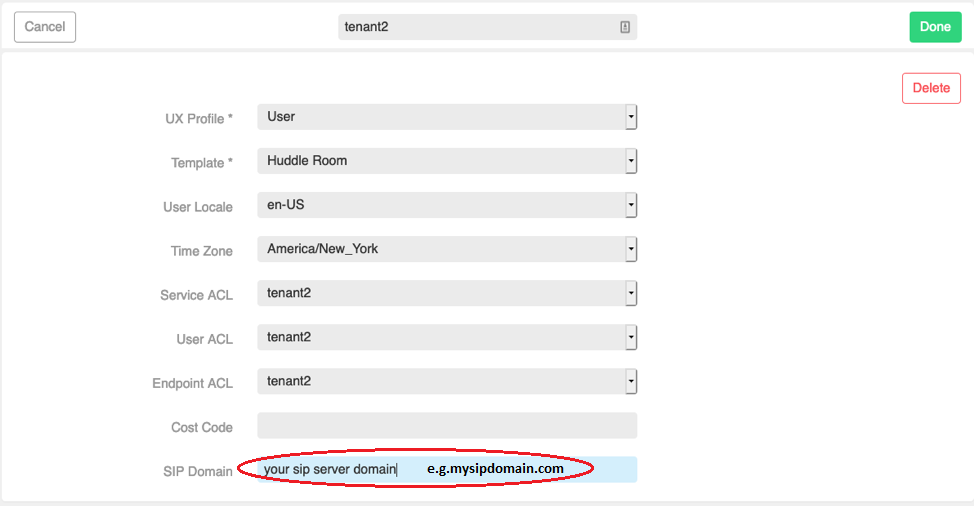
- Enter your SIP server domain in the SIP Domain field and click Done
VQ CM Jabber URI
The URI for your Jabber Extension is:
https://[conference manager FQDN]/jabber?readonly=true
Configuring with Cisco Unified CM (CUCM) Administration 12.5
- Sign into your CUCM Administration site
-
Select User Management -> User Settings -> UC Service
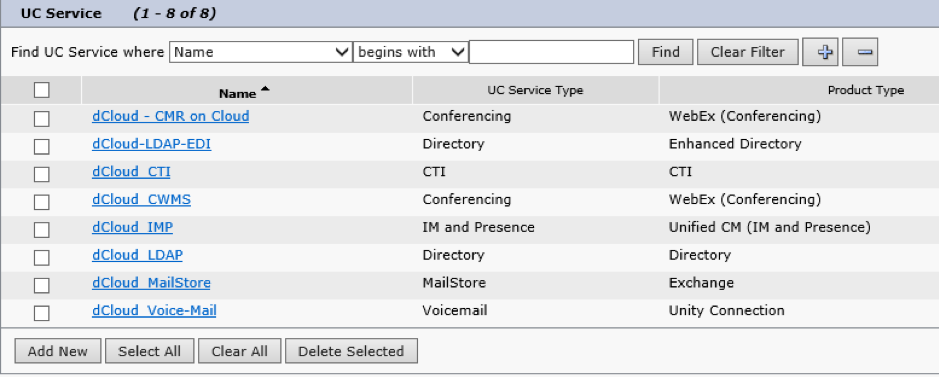
- Click Add New and follow the instructions below, or click Find and then select your existing Jabber Client Configuration and skip to Browser Plugin Configuration below
-
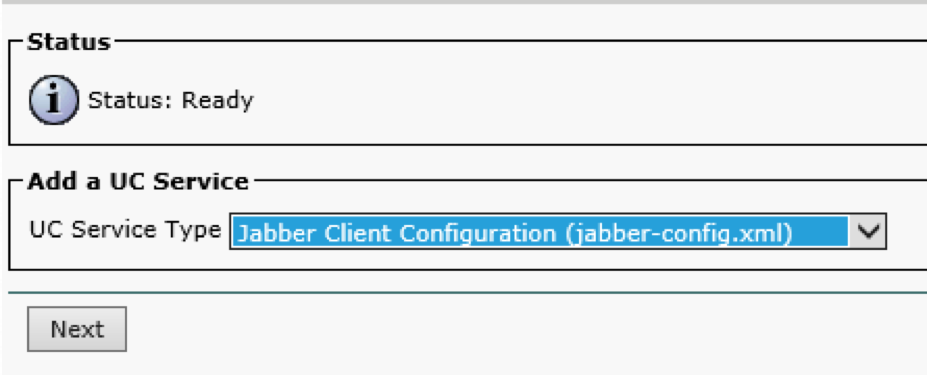
Select Jabber Client Configuration as the UC Service Type
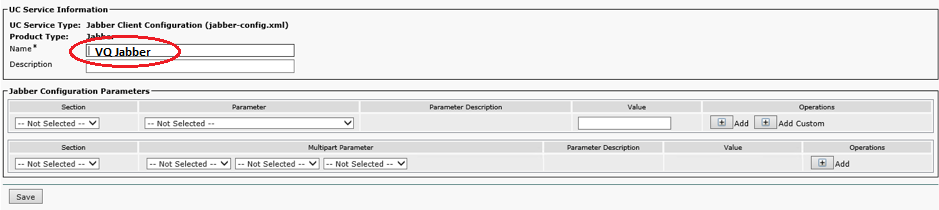
Enter VQ Jabber as name:
Browser Plugin Configuration
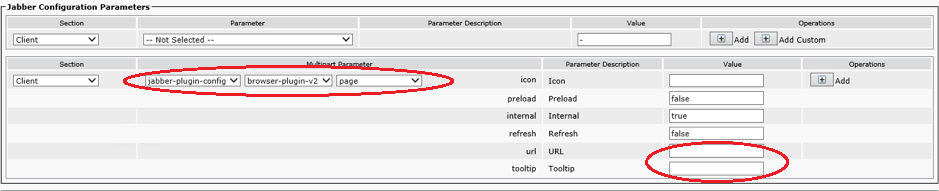
- In the bottom section, select Client
- Select jabber-plugin-config->browser-plugin-v2-> page under multipart parameter
- Enter your VQ CM Jabber URI
- Enter the text you could like on the button in Tooltip, i.e. “VQ CM”
- Click Save
Assign Service Profile
- Select User Management -> User Settings -> Service Profile from the top menu
-
Select the Service Profile you would like to have access to the VQ CM Jabber Extension

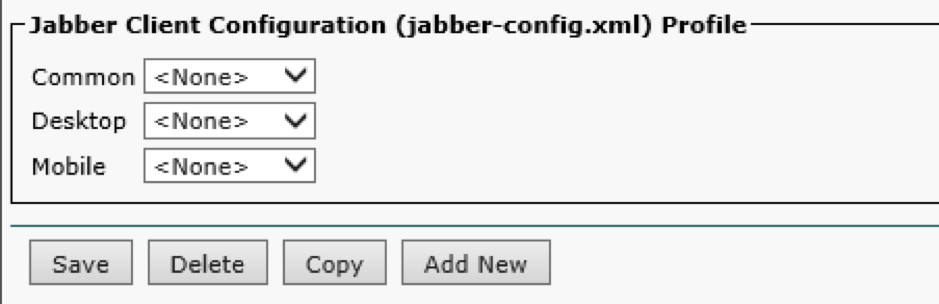
- In the Jabber Client Configuration (jabber-config.xml) Profile section, for Desktop, select the service we created or edited in the previous section
- Click Save
Note: It can take some time after saving for the configuration to be propagated to clients.
Configuring with Cisco Unified CM (CUCM) Administration 11.5
Editing jabber-config.xml
If you are using a jabber-config.xml file for jabber configuration already you can add a jabber-plugin-config element inside a Client section as below.
<Client>
<jabber-plugin-config>
  <browser-plugin>
    <page refresh="false" preload="true">
      <tooltip>VQ CM</tooltip>
      <url>your conference manager jabber URI</url>
    </page>
  </browser-plugin>
</jabber-plugin-config>
</Client>
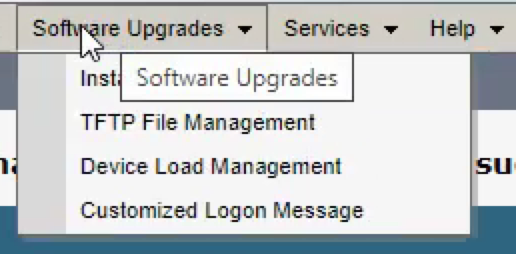
Upload Modified jabber-config.xml
- Browse to Cisco Unified OS Administration
-
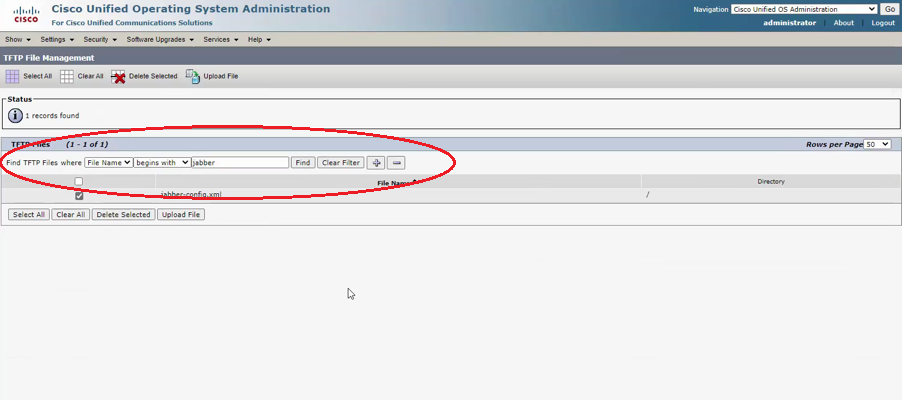
Click Software Upgrades then TFTP File Management
-
Click Upload File
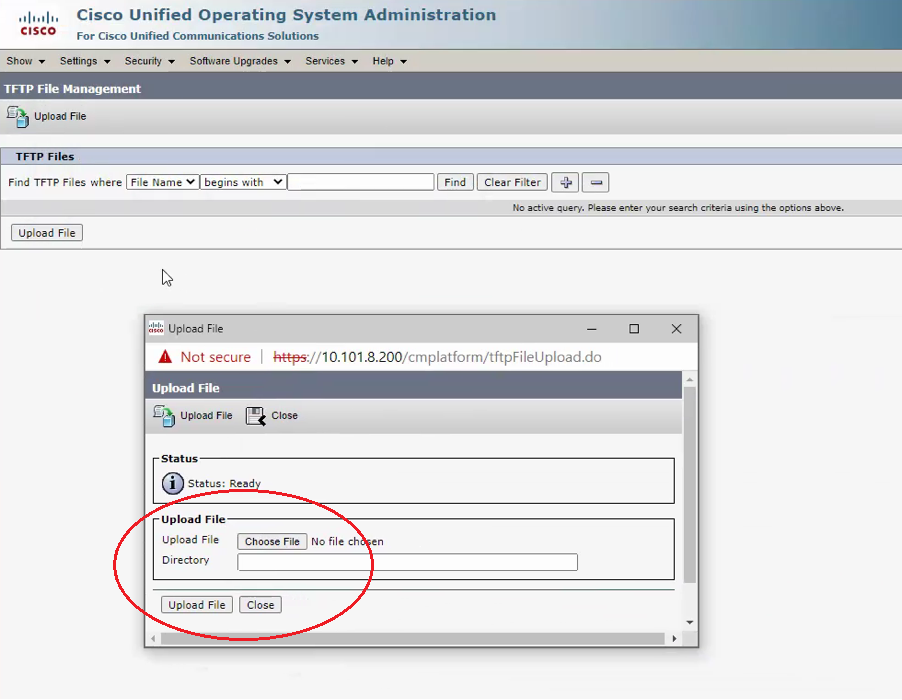
- Click Choose File and select your modified jabber-config.xml file, then press Upload File
-
You should now be able to see jabber-config.xml in the list. You may need to click Find above the list before it is visible
Browse to Cisco Unified Serviceability
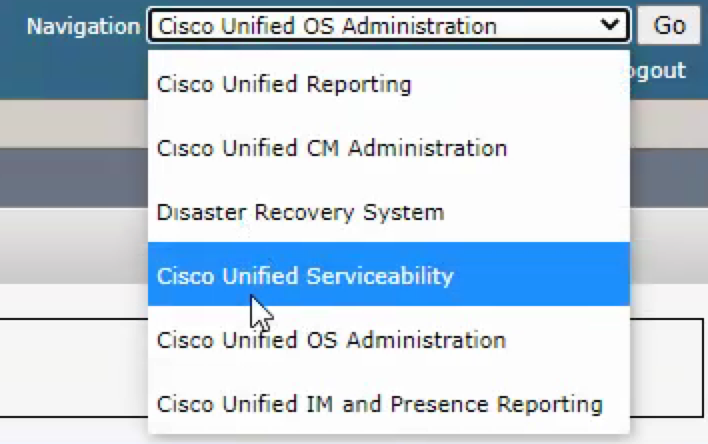
-
Click Tools->Control Center – Feature Services
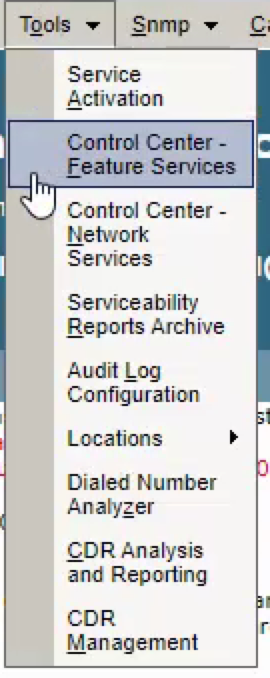
-
For each CUCM Voice and Video server, restart TFTP, then CallManager, by selecting the service from the list, and clicking Restart from the buttons at the top or bottom of the list
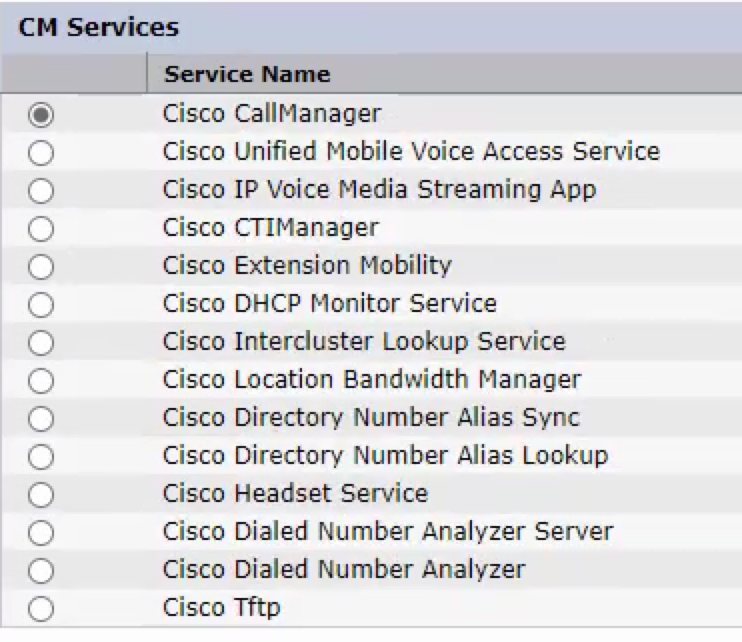
- The next time each Jabber client is started it will pull the updated configuration file and begin using it