Installing VQ Conference Manager
VQ Conference Manager runs as a virtualized application on a vSphere client.
To install VQCM 3.12.x, download the OVF, then follow the instructions below to deploy the OVF template and run the VQCM 3.12.x installer.
Deploying the OVF Template
- Log in to your host using your VMware vSphere client.
- In the top menu, select File>Deploy OVF Template….
- In the Source screen, browse to both the vqcm.ovf file and vmdk file and select Open.
- The OVF Template Details screen is there for information only; go directly to the next screen.
- In the Name and Location screen, type a unique name for your new VM in the Name field.
- In the Storage screen, select the virtual disk storage you want to use for the deployment.
- In the Disk format screen, select provisioning method.
- In the Network Mapping screen, select destination network.
-
In the Ready to Complete screen, select the Power on after deployment check box.
Note: Alternatively, you can power on the VM manually when you have run the AM Installer.
-
Select Finish.
A dialog box appears showing the progress of the deployment.
- Wait for the deployment to complete, then select Close.
Installing VQ Conference Manager 3.12.x
-
Select your new VM in the menu and go to the VM Console.
NOTE: The screen is black for up to 30 minutes as a new, system specific, private key is generated. You will see the following display on your screen:
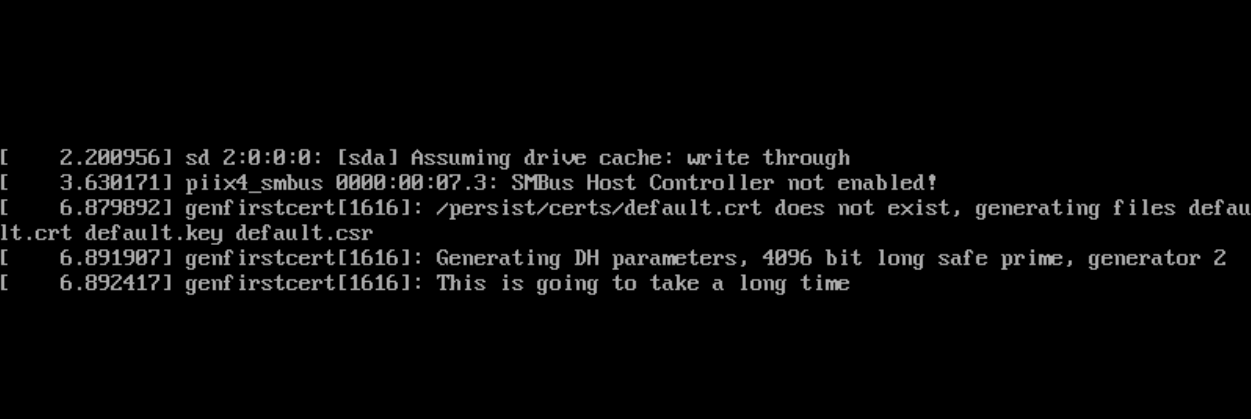
Begin Installation
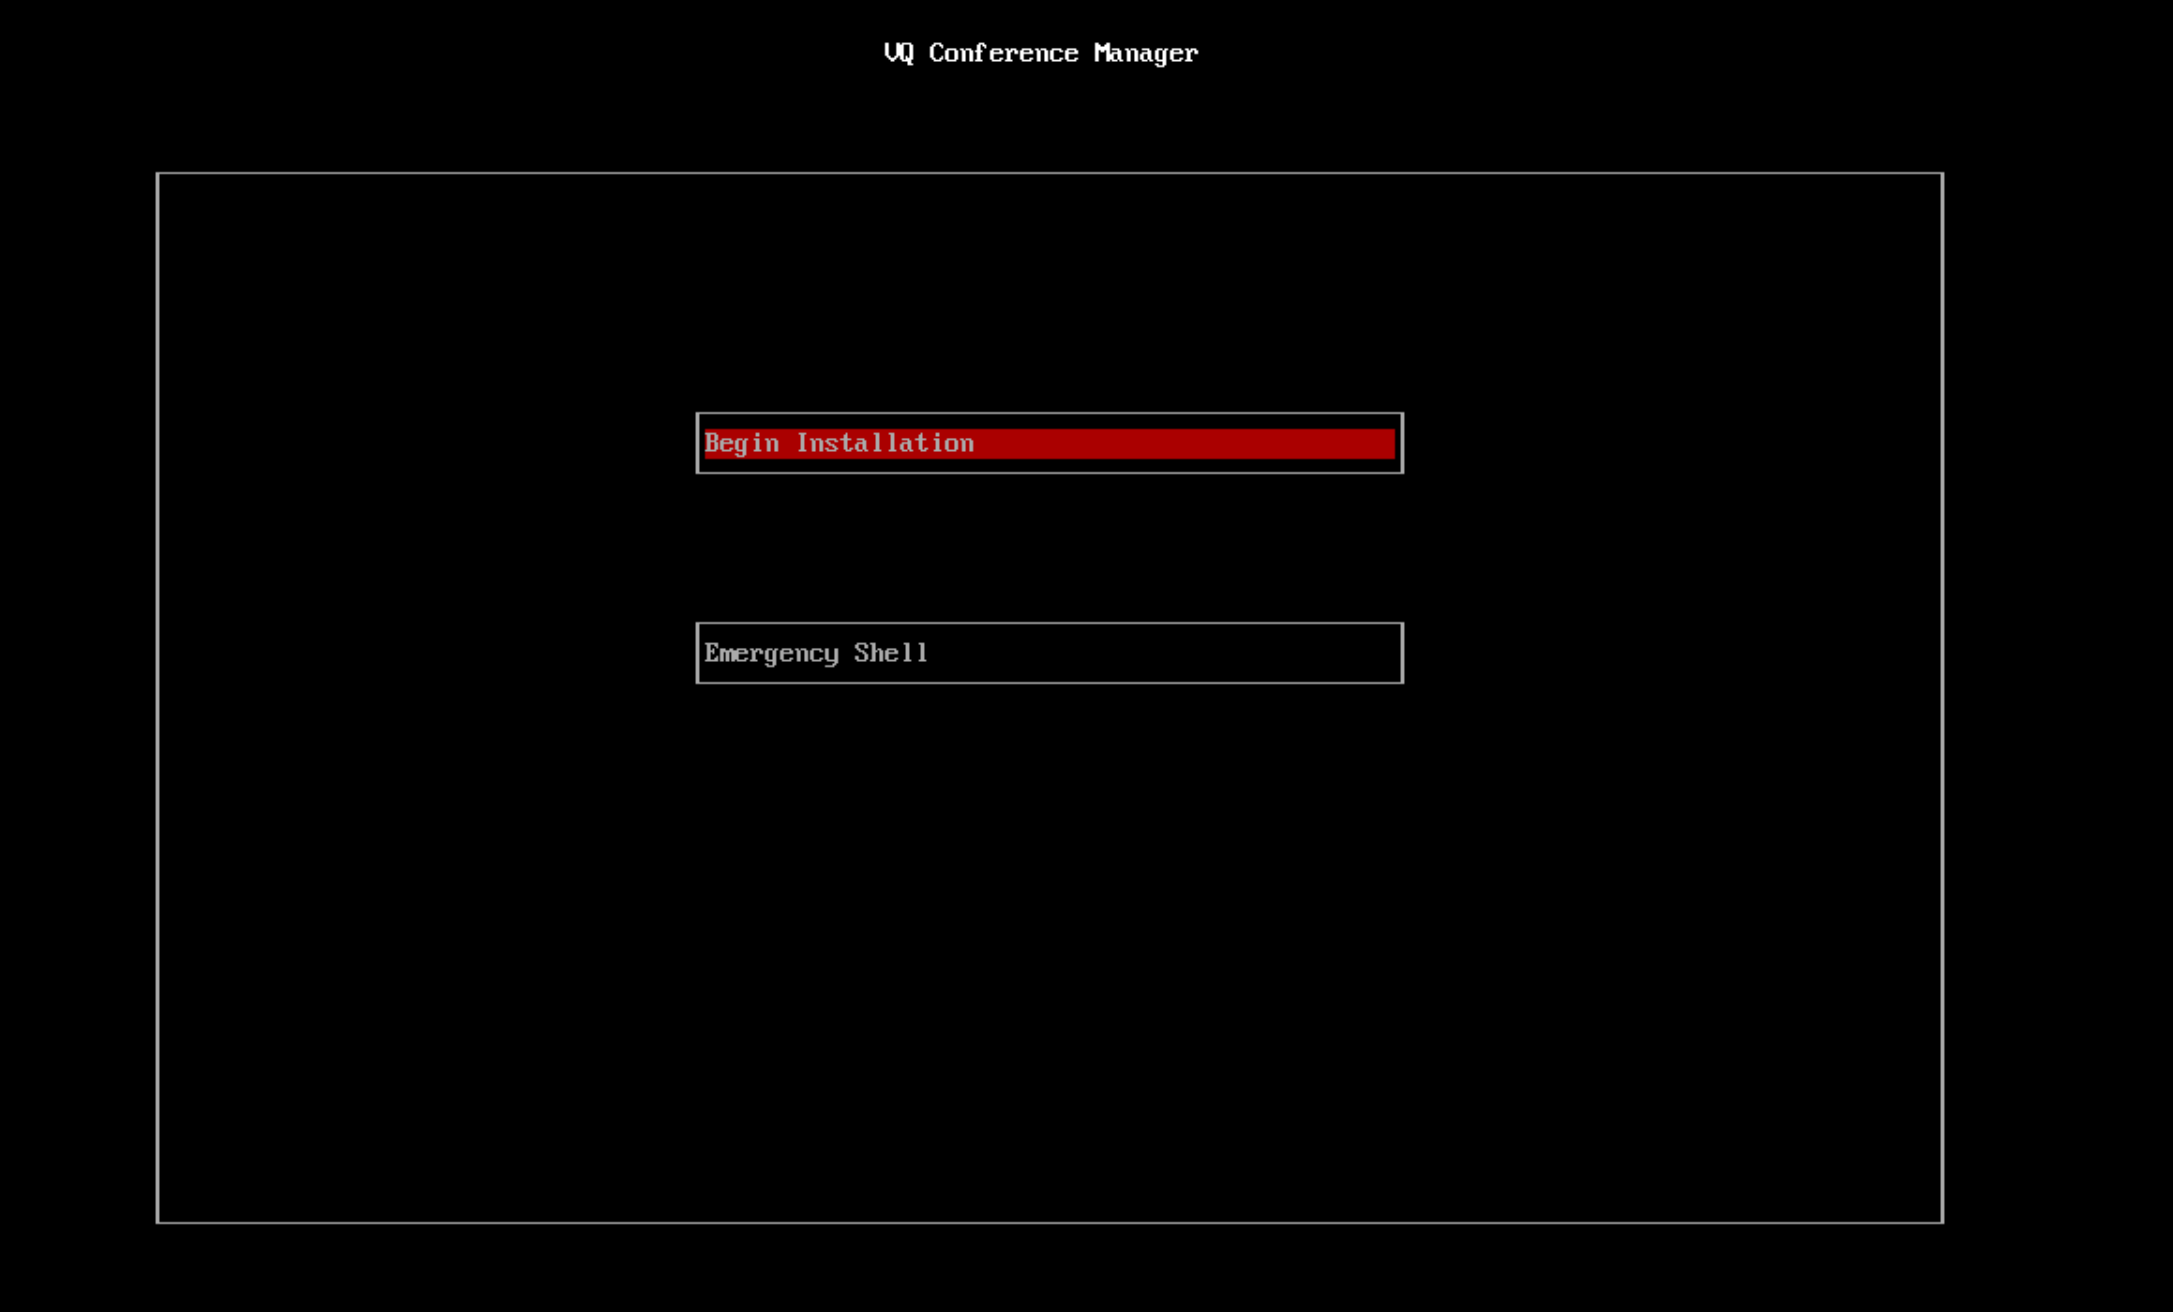
The Installer menu appears as in the screen shot below.
-
Navigate to the Begin Installation button and press Return.
Note: You do not need the Emergency Shell during installation. The Emergency Shell lets you troubleshoot VQ Conference Manager using BusyBox commands.
Note: In the VQ Conference Manager installer, use the Tab key to move from one field to the next, and use the Return key to select buttons. If you need to use your mouse, press Ctrl+Alt.
-
When prompted, press ENTER to begin.
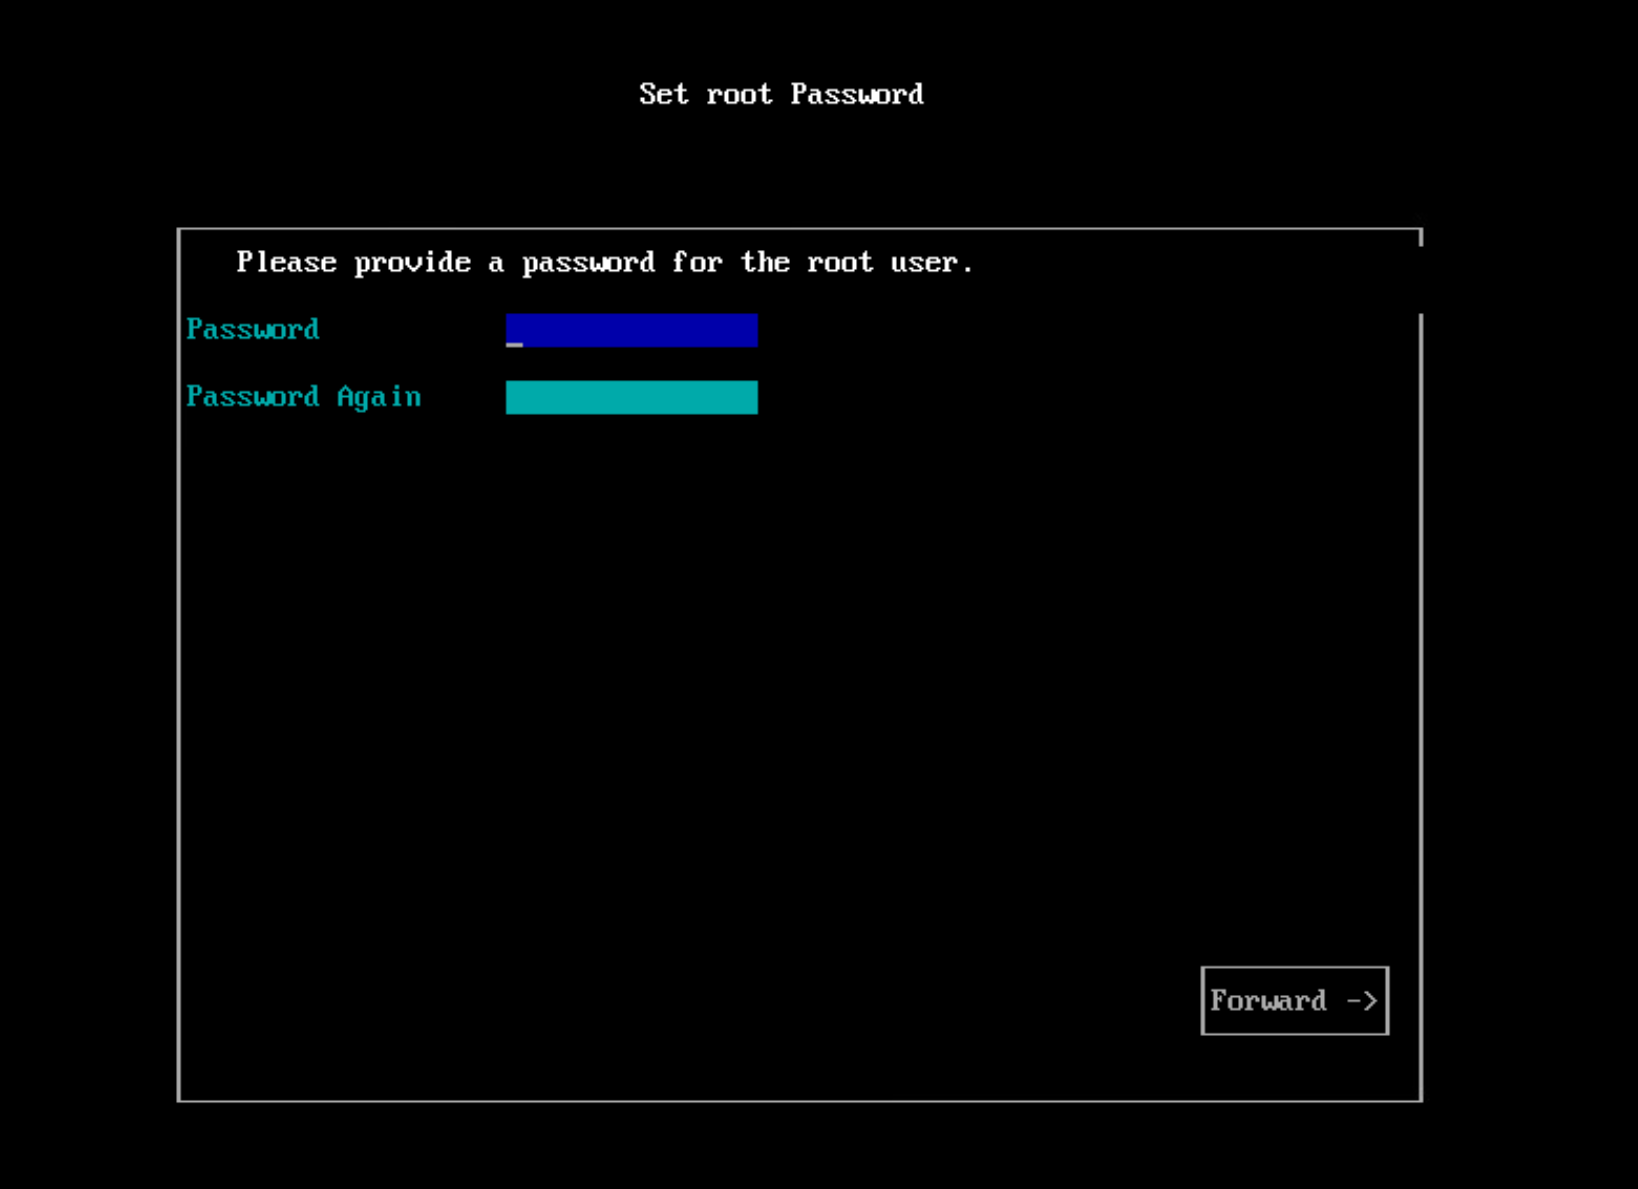
Set root password
-
Please provide a Root user password for the Linux operating system on the VM.
Network configuration
-
In the Networking Configuration screen, enter a hostname and name server.
Note: The console assumes US keyboard layout. Be aware when you want to type special characters. For instance, if you have a UK keyboard, type SHIFT+2 to type @
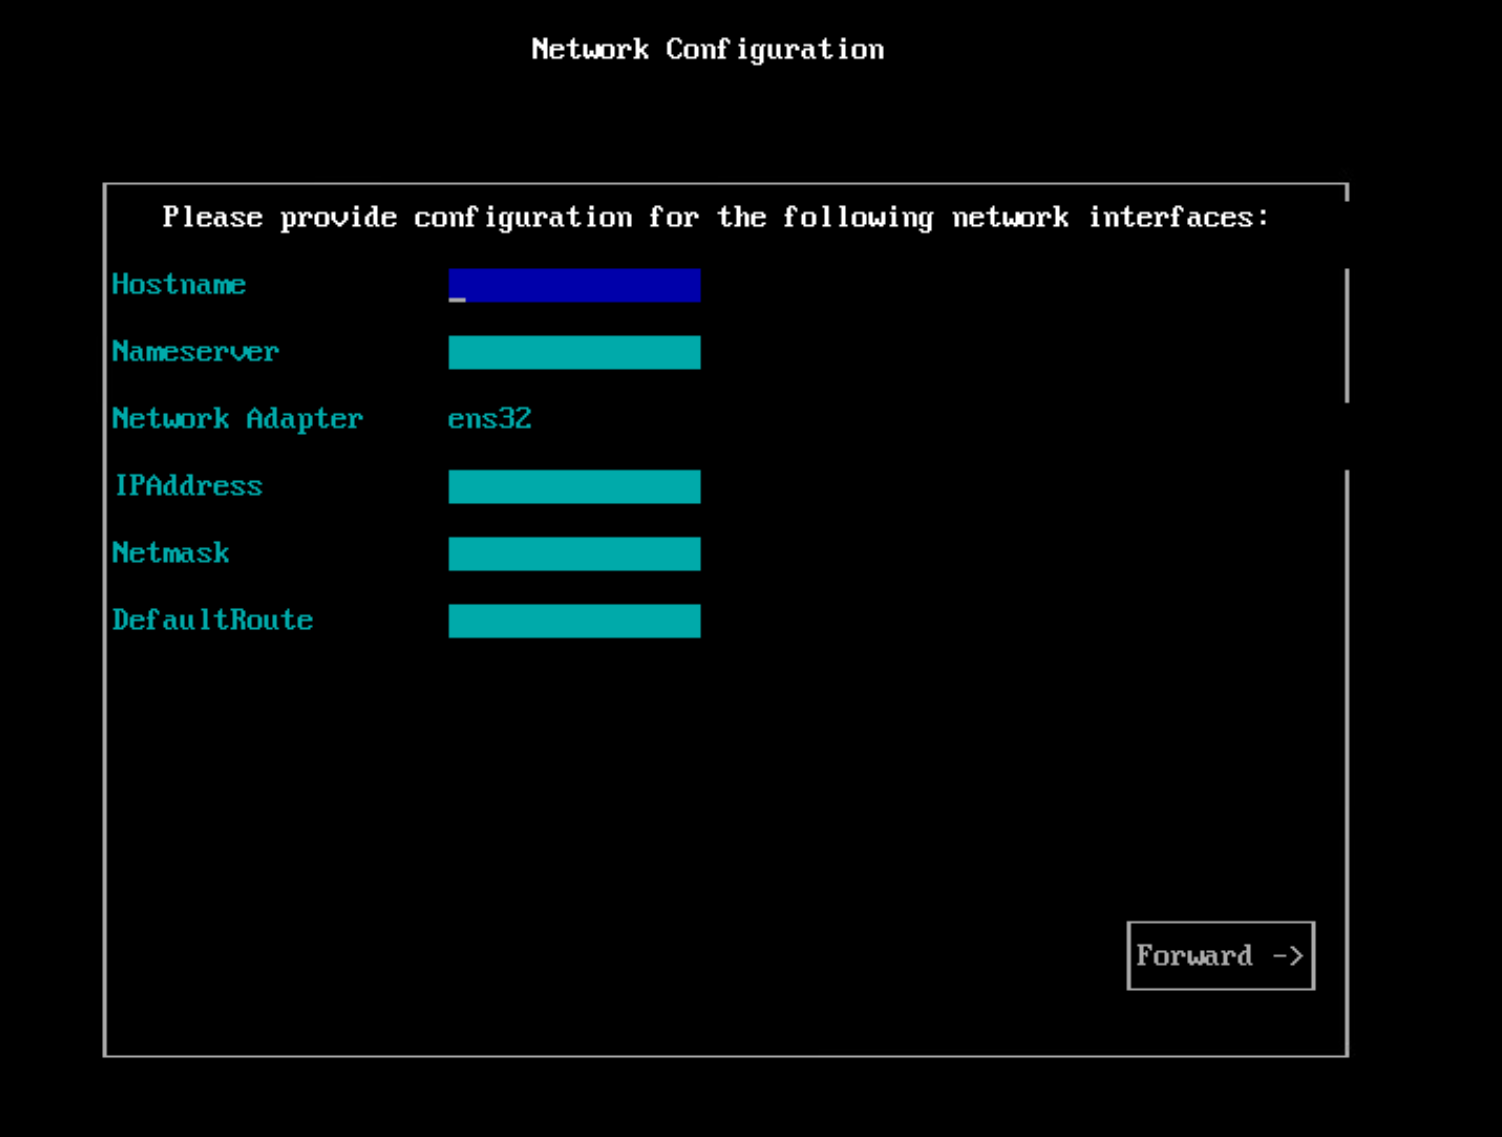
6. Set up the details and press Forward:
Please note that VQCM runs as a Cluster consisting of one or more VMs. The Cluster consists of a collection of Pods, each of which can consist of multiple Linux Containers and each one has its own IP address. The Cluster IP addresses exist on an internal vLAN spanning the Cluster. The vLAN address ranges used are 10.115.0.0/23 and 10.115.2.0/23.
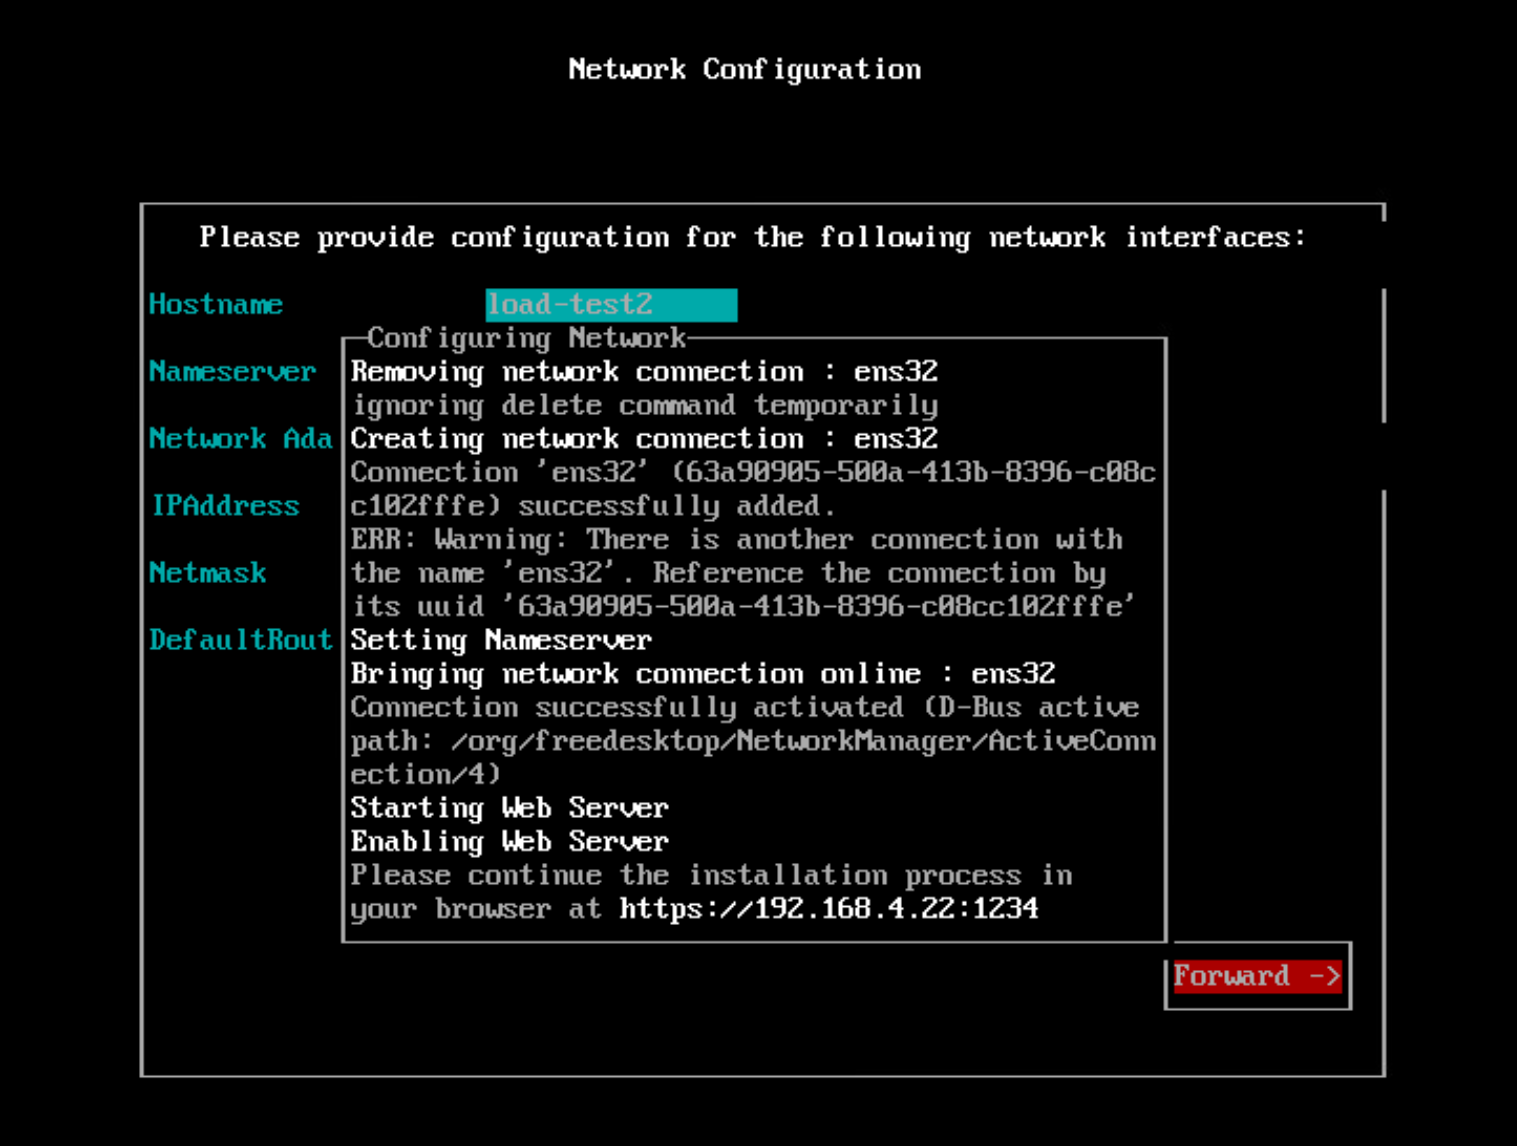
7. Transition to the Browser based installation and configuration process
The final stage of the Network Configuration process will have displayed the message Enabling Web Server followed by Please continue the installation process in your browser at https://<your server address>:1234.
Please open a browser and contine the installation using the URI provided (HTTPS).
Install process: System Configuration (Master Node)
After initializing the VM and setting the network configuration, the installation process transitions to the browser based "Stage 2: System Configuration" pages. Once the process has been completed, access to the VQ Conference Manager Administration pages requires authentication.
Having installed VQCM, please then upgrade it to the latest upgrade image for the release.
The following screen shots take the reader through the install (single node) setup:
Cluster Node Configuration

Next
Administrator credentials for VQCM-Admin

Next
Administrator credentials for VQCM

Next
Master Initialization
The system initializes; wait for "installation complete". This can take several minutes.

Next
Time Server

Next
Certificate

NOTE: when uploading certificates, please ensure you upload all certificates in the trust chain including intermediate and root CA certificates that are already in the client store.
During the install process, a temporary, self-signed certificate is generated based on the FQDNs entered during configuration.
Use the VQCM Admin Manage>Certificates page to upload signed certificates once they are available. The certificate page allows the uploading of certificates in various formats and also supports certificate chaining.
Next
System initializes
Wait for the system to initialize; watch the Pods go “green”:
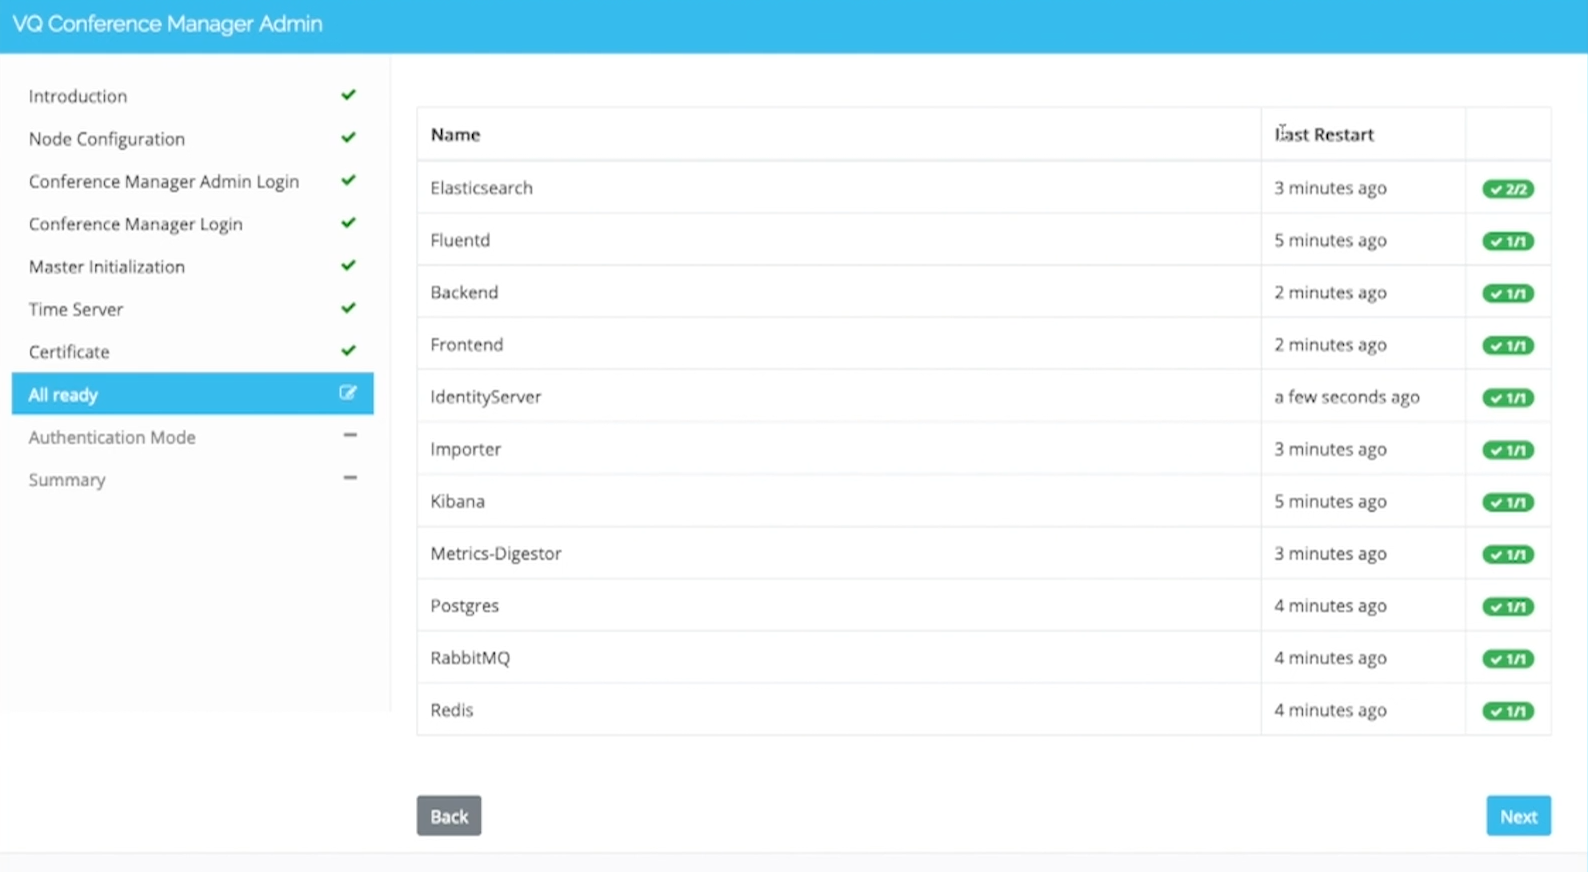
Next
Authenication Mode

Next
Finished

Finish
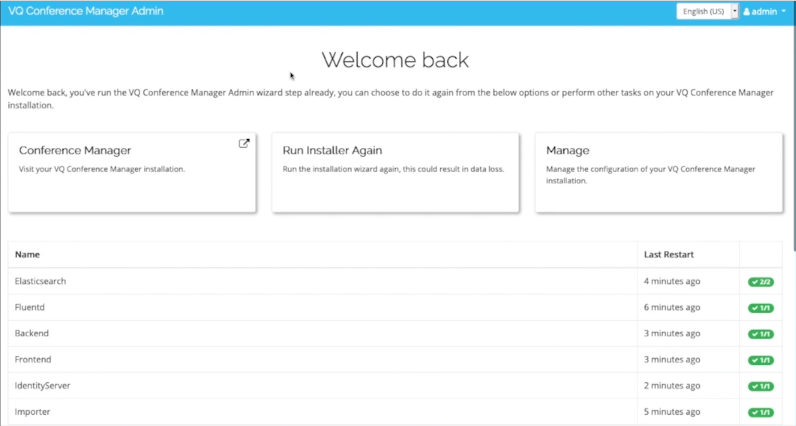
Log back in using the VQCM-Admin credintials you provided:

Continue
Scroll down to see:
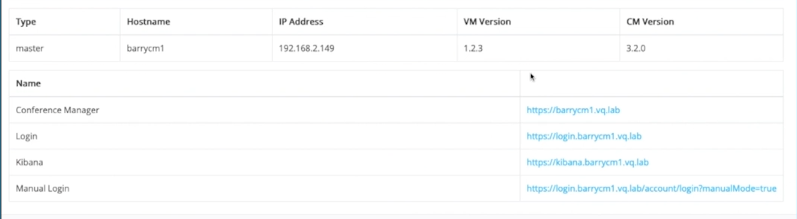
At this stage, the system is running on an untrusted, self-signed, certificate which can be updated later.
Please continue reading into the next section; if describes how to login and negotiate through the certificate exceptions.